YouTube screen recording setup for tutorial channels: a practical guide
Build a reliable YouTube screen recording setup for tutorial channels. Covers software, audio, resolution, and workflow tips to produce polished how-to videos fast.
Published
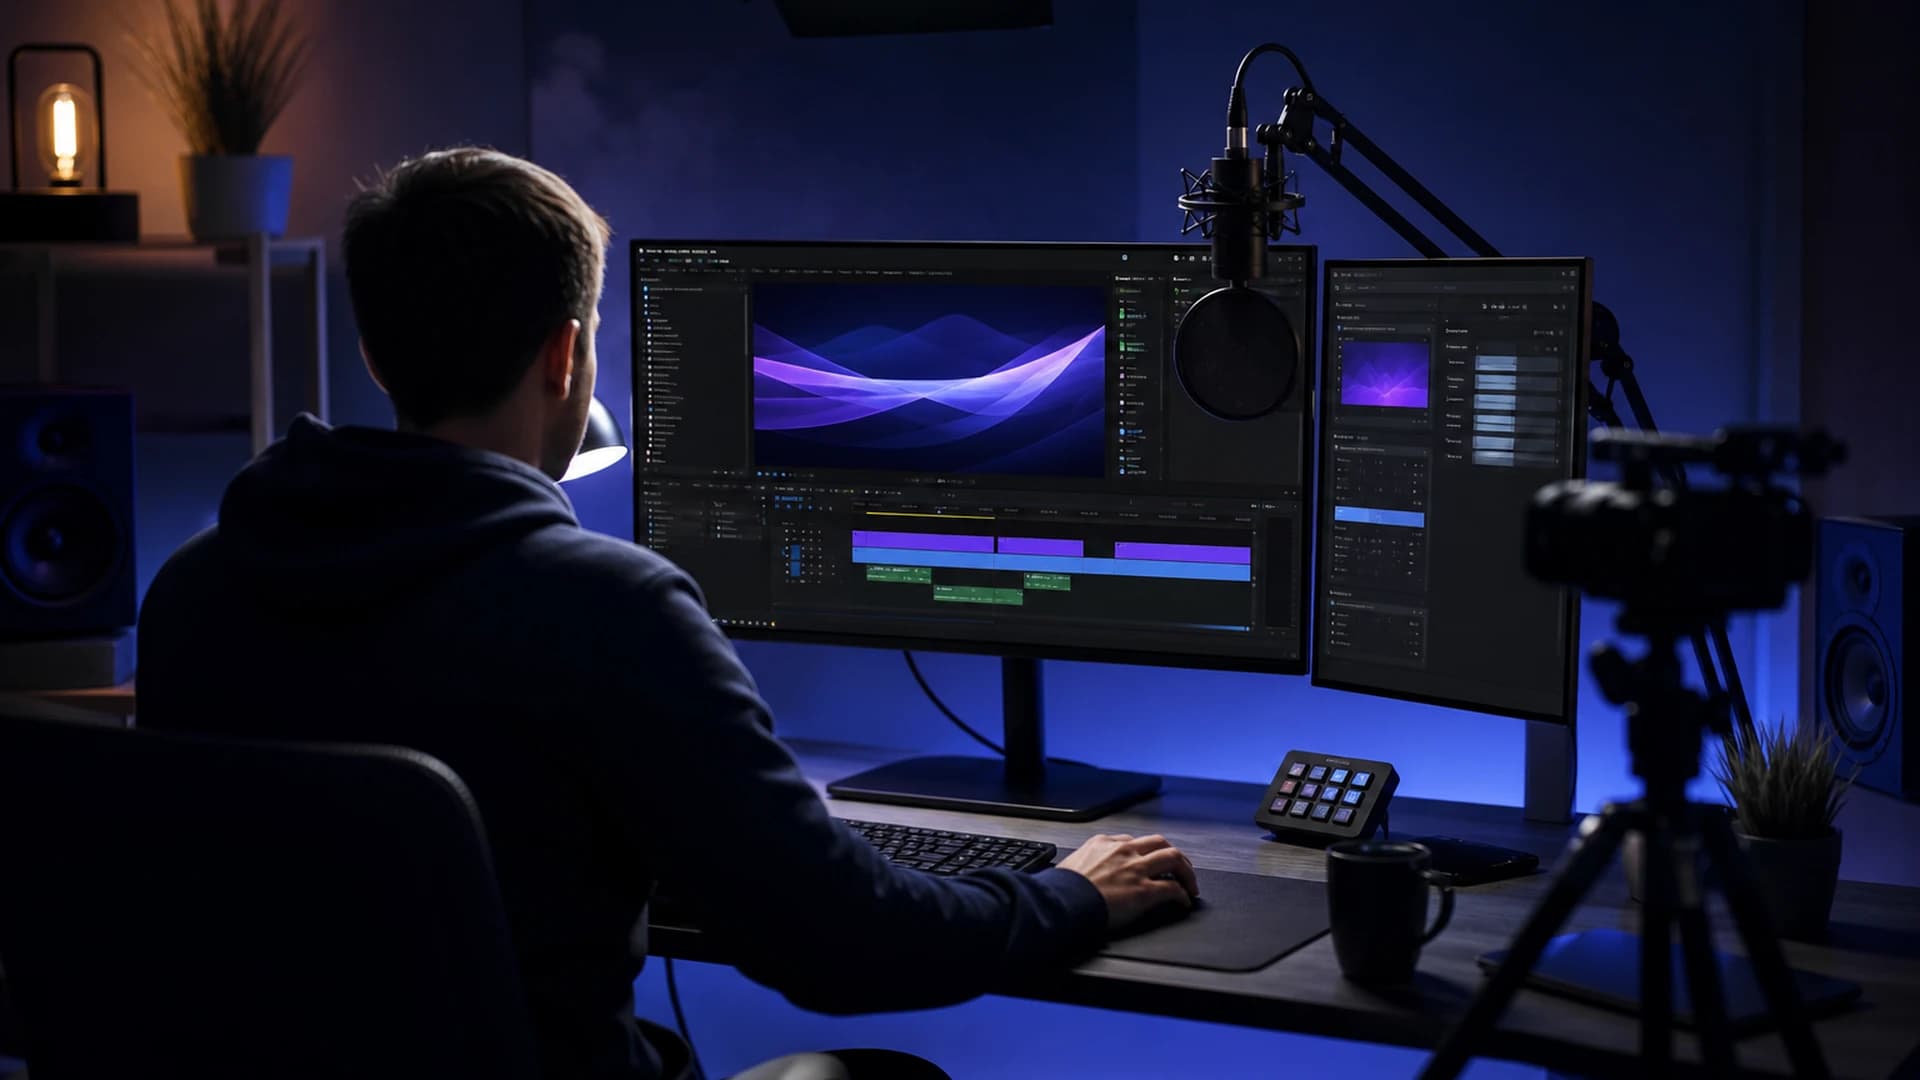
A solid YouTube screen recording setup is the foundation of every successful tutorial channel. Whether you are teaching software, walking through a process, or explaining a tool step by step, the quality of your recording directly shapes how long viewers stick around and whether they trust you enough to subscribe.
Choose the right screen recording software for your workflow
The software you use determines how much friction sits between you and a finished video. Look for a recorder that captures at your monitor's native resolution, lets you highlight your cursor automatically, and records system audio and microphone on separate tracks. Separate audio tracks are not optional if you want any flexibility in post-production — they let you fix a cough or a system notification ping without re-recording the whole segment.
Free options bundled with your operating system are fine for getting started, but most tutorial creators outgrow them quickly. Mid-tier paid tools typically add zoom-and-pan effects, chapter markers during recording, and direct export presets for 1080p and 4K. Before committing to anything, run a five-minute test capture and check that the frame rate holds steady during fast on-screen movement — dropped frames destroy the credibility of a tutorial faster than almost anything else.
Resolution, frame rate, and display settings to get right before you hit record
Record at 1920x1080 as a minimum; 2560x1440 gives you extra room to crop in without losing sharpness. Set your display scaling to 100 per cent before recording — operating system scaling that looks crisp on your monitor often produces blurry text in the exported file. Close any panels, browser tabs, or notification banners you do not need on screen, and switch your colour profile to sRGB so colours render predictably after YouTube's compression.
Thirty frames per second is acceptable for most tutorial content, but bump to 60 fps if you are demonstrating anything with fast transitions, drag-and-drop interactions, or animation. Viewers notice choppy motion immediately in how-to videos because they are actively trying to follow along. Match your recording frame rate to your editing timeline setting from the start — mixing frame rates in the same project is a common beginner mistake that wastes hours of re-export time.
Audio is more important than your video quality — treat it that way
Tutorial viewers will tolerate average visuals, but they will click away within seconds of hearing echoey or muffled audio. A USB condenser microphone placed 15 to 20 centimetres from your mouth, slightly off-axis, is the standard entry-level setup that sounds genuinely professional on camera. Pair it with a pop filter and record in the smallest, most furnished room you have — bookshelves and soft furnishings absorb the reflections that make recordings sound amateur.
Run a noise-reduction pass on your voice track in your editing software before export, but keep it subtle. Over-processed audio has a metallic, watery quality that is just as distracting as background noise. Record a ten-second silence clip at the start of every session; your editor can use it to sample the room noise and strip it out cleanly. Also disable all system sounds and close any application that might generate notification audio before you start.
Structure your recording session to cut editing time in half
Batch your recordings rather than recording and editing one video at a time. Set up your screen, close irrelevant windows, and record two or three tutorial segments back to back while your environment is already configured. Use a simple verbal cue — saying "cut" or clapping once before retaking a fluffed line — so you can find edit points quickly in the timeline without scrubbing through the whole file.
Keep a plain-text script or a bulleted outline visible on a second monitor so you are not reading from memory. Tutorial viewers are forgiving of brief pauses while you think, but they find filler words and circular explanations genuinely frustrating. Plan your click path through the software before you record it — a dry run with no recording running takes two minutes and eliminates most of the hesitation that adds unnecessary length to your finished video.
Protect your tutorial content once it is published
High-quality tutorial videos attract copycats. Channels that invest time in clear explanations, well-structured scripts, and polished audio are exactly the kind of content that gets ripped and re-uploaded, sometimes with only superficial changes to the title or thumbnail. Because your tutorials contain distinctive narration patterns, on-screen workflows, and often a recognisable voice, AI-assisted comparison tools can detect suspicious copies that a manual search would miss.
GuardMyVideos analyses your uploads using title, description, tags, transcript, and narration patterns to surface potential copies across YouTube. It uses read-only OAuth access, so it never modifies your channel, and new signups can run trial scans to see results before committing. This is AI-assisted analysis, not legal advice — but knowing a copy exists is the essential first step before deciding how to respond.
Related: How to create YouTube videos: from idea to upload, How to write YouTube scripts that sound natural on camera.
Create a free account to try trial scans, or view pricing for ongoing monitoring.
Frequently asked questions
- What resolution should I record at for a YouTube tutorial channel?
- Record at 1920x1080 as a minimum. If your monitor supports it, 2560x1440 gives you extra cropping flexibility without losing text sharpness after YouTube compresses the file. Always set your display scaling to 100 per cent before capturing to avoid blurry text in the exported video.
- Do I need a dedicated microphone for screen recording tutorials?
- Yes, for any channel you want to grow. Built-in laptop microphones pick up fan noise, keyboard clicks, and room echo at levels that make viewers uncomfortable. A USB condenser microphone at around 15 centimetres from your mouth, slightly off-axis, produces audio that sounds genuinely professional without requiring a treated recording booth.
- How do I stop my screen recording file from being enormous?
- Record in a compressed format such as H.264 rather than lossless if your software allows it — lossless is rarely necessary for tutorial content. Lower your capture frame rate to 30 fps if you do not need smooth motion. After editing, export using H.264 or H.265 at YouTube's recommended bitrate settings rather than the software's default, which is often set far higher than streaming platforms require.