YouTube lighting basics for home studios on a budget
Set up great YouTube lighting at home without expensive gear. Practical tips on natural light, affordable key lights, and common mistakes to fix today.
Published
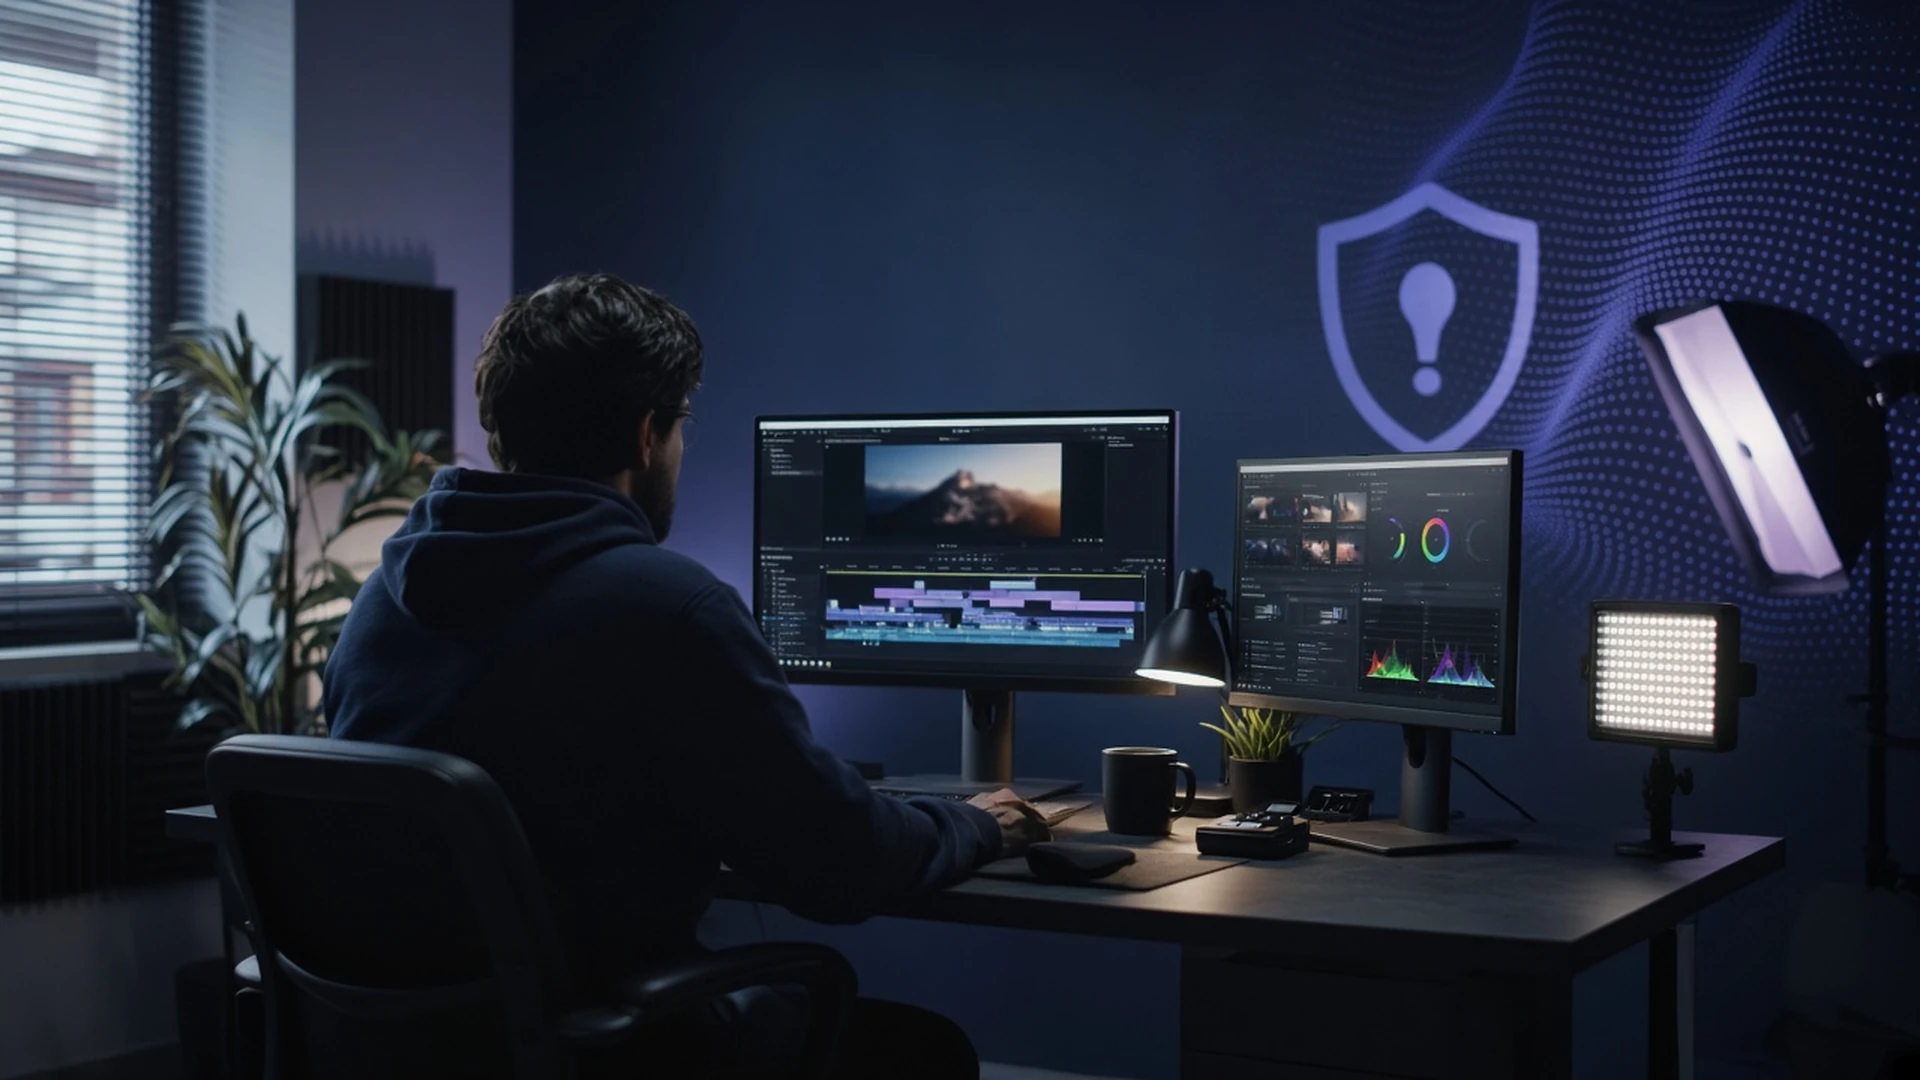
YouTube lighting basics for home studios are easier to get right than most creators expect — and the difference between flat, unflattering footage and a clean, professional look often costs less than a takeaway meal. Whether you are filming in a spare room, a corner of a living room, or a garden office, this guide walks you through the core principles, the cheapest gear that actually works, and the mistakes that quietly kill watch time before a viewer even hears your first word.
Understand the three-point lighting principle first
Three-point lighting — key light, fill light, and back light — is the foundation used by broadcasters and filmmakers alike, and it scales down perfectly to a home YouTube setup. Your key light is the main source that illuminates your face; it should sit roughly 45 degrees to one side and slightly above eye level so shadows fall naturally rather than straight down your nose. A fill light on the opposite side at lower intensity softens those shadows without eliminating them entirely, which keeps depth in your face rather than making you look washed out.
The back light (sometimes called a hair or rim light) sits behind you and separates your head and shoulders from the background. Without it, darker hair or clothing tends to blend into a wall and the shot looks flat. You do not need three separate purchases to achieve this: a window can serve as your key light, a white reflector or foam board can act as fill, and a small LED panel behind you handles the rim. Start with these roles in mind before buying anything.
Make the most of natural light before spending a penny
A north- or south-facing window (depending on your hemisphere) gives diffused, consistent light that flatters on camera far better than direct sunlight, which creates harsh shadows and blows out highlights unpredictably. Position your desk or chair so the window is in front of you and slightly to one side — never behind you, which silhouettes your face and forces your camera to expose for the bright background instead of you. Film between roughly 9 am and 2 pm for the most even results; early morning and late afternoon light shifts quickly in colour temperature, which can make white balance drift mid-video if you are recording a long take.
To control natural light, use a sheer white curtain or a piece of tracing paper taped to the window frame as a diffuser. On overcast days you may need no diffusion at all — clouds are essentially a giant softbox. What to skip: blackout blinds during the day unless you are replacing natural light entirely with artificial sources and have a consistent reason to do so. Chasing full control before you have learned the basics adds complexity without improving your video.
Affordable gear that genuinely improves your footage
If your space lacks reliable natural light, a single bi-colour LED panel on an adjustable stand is the most cost-effective upgrade you can make. Bi-colour panels let you dial between warm and cool colour temperatures so you can match whatever ambient light remains in the room, keeping white balance consistent across a whole shoot. Look for a panel with a CRI (Colour Rendering Index) rating of 90 or above — lower CRI lights make skin tones look sallow or greenish on camera even when the exposure appears correct on a monitor. A softbox attachment or a shoot-through umbrella will diffuse the output and reduce harsh shadows on your face.
A collapsible 5-in-1 reflector (typically available for a few pounds or dollars) gives you a white fill surface, a silver boost, and a gold warming option in one flat disc that stores under a desk. For a rim light, even a cheap RGB LED strip fixed to a shelf or desk edge behind you adds separation and can double as a subtle background colour accent. Checklist for a minimal but effective budget setup: one bi-colour LED panel with stand and softbox, one 5-in-1 reflector, one piece of white foam board as a secondary fill or bounce. That is genuinely all most home studio creators need to look professional on camera.
Common lighting mistakes and how to fix them quickly
The most frequent problem creators encounter is mixed colour temperatures — a warm bedside lamp on one side and a cool daylight window on the other, which leaves your face with one half orange and one half blue. Fix it by switching off any practicals (lamps in the background that are not part of your intentional setup) or by gelling them to match your key light. If you use a window as your key, turn off all ceiling lights and room lamps during the take; modern LED bulbs are especially bad for mixed temperature because they often run at a very different Kelvin value from daylight.
Another common issue is placing your key light too close, which creates a spotlight effect with deep, unflattering shadows under your eyes and chin. Move the light further back and raise the power slightly rather than keeping it close and dimmed. Hotspots on a glossy wall behind you are also a frequent distraction — hang a plain matte fabric or reposition your desk so the wall is further from the light source. Finally, never film with an overhead ceiling light as your only source: it pushes shadows straight down your face and makes you look tired regardless of how much energy you project on camera.
Batch your filming sessions around your lighting setup
Once your lighting is dialled in — whether natural or artificial — the fastest way to get more value from that setup is to record multiple videos in a single session. Consistency in lighting is one of the strongest visual signals of a professional channel; viewers notice when episodes look dramatically different from one another, and it erodes trust in ways that are hard to quantify but easy to feel. Set your lights, check the shot, record a short test clip and review it on the monitor or playback before committing to a full take.
Keep a simple note — even a photo on your phone — of your light positions, stand heights, and any diffusion panels so you can replicate the setup exactly next time without spending 20 minutes guessing. If you film tutorials or talking-head content where your face is the primary subject, your lighting consistency matters as much as your audio quality in retaining viewers across a series. Building a repeatable rig, however modest, is an investment in your channel brand as much as it is a production decision.
Related: How to batch film YouTube videos in one day, YouTube screen recording setup for tutorial channels.
Create a free account to try trial scans, or view pricing for ongoing monitoring.
Frequently asked questions
- What is the cheapest way to improve YouTube video lighting at home?
- Start with natural light from a window positioned in front of you and slightly to one side. Add a white foam board or collapsible reflector on the opposite side to fill shadows. This costs almost nothing and beats most built-in room lighting immediately. If your space has no reliable window light, a single bi-colour LED panel with a softbox attachment is the most impactful affordable purchase you can make.
- What colour temperature should I use for YouTube videos?
- Daylight sits around 5500 to 6500 Kelvin and tends to look clean and natural on camera for most content types. Warmer settings around 3200 to 4000 Kelvin suit lifestyle, cooking, or cosy-aesthetic channels. The most important rule is consistency: pick one colour temperature, set your camera's white balance manually to match it, and keep all your light sources at the same Kelvin value so your face does not appear split between warm and cool tones.
- Do I need a ring light for YouTube?
- A ring light is a convenient single-unit option but it is not essential and has limitations — it produces a distinctive circular catch-light in your eyes that can look artificial, and it provides flat, even light with almost no shadow, which can make faces look two-dimensional. A key light with a softbox plus a reflector as fill often produces more flattering, professional results at a similar or lower cost. Ring lights work well for beauty and skincare content where very even, shadow-free light is intentional.